
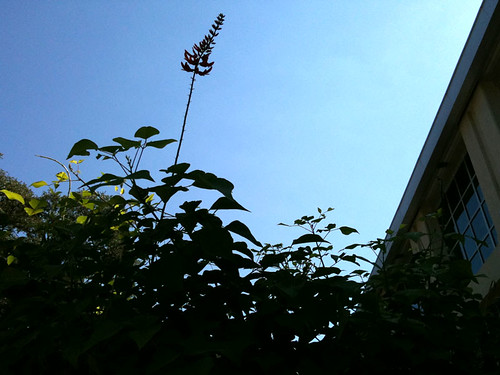


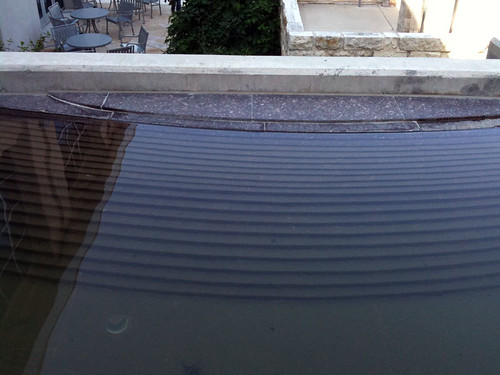
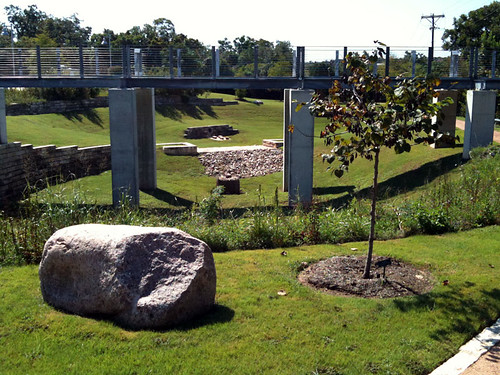
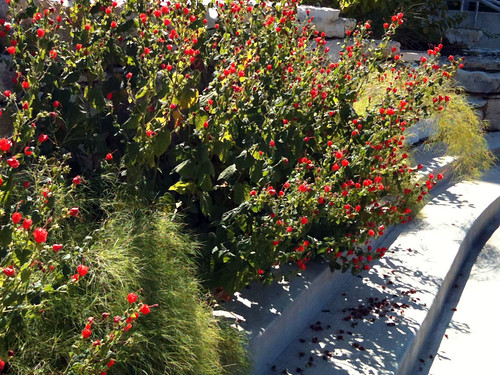
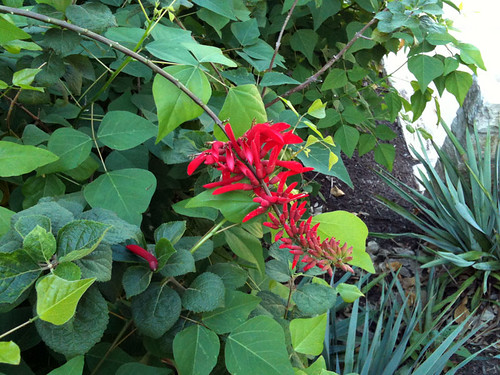
The grounds at LCRA Redbud Center (lots of cool demo areas to explore)
Okay, I know the title is less than riveting; so if you've read this far, you must really be interested in drip irrigation, eh? I'm not sure why, but assembling a drip irrigation system for my flower and vegetable beds has always seemed a little mysterious. Like I might get it wrong and end up with non-potable water backing up into my plumbing system. And there just seem to be so many little pieces, like legos for gardeners.
Well, Dotty Woodson, a water conservation expert for Texas AgriLife Extension, shared a lot of good information about drip irrigation in a free seminar this morning over at the LCRA Redbud Center. And followed it up with some hands-on practice for everybody. It's not so mysterious after all! And looking at the percentages, even an imperfect drip irrigation system would be more efficient than a sprinkler system.
The most important things I learned (that you may not already know):
- Drip irrigation works at low pressure, 15-25 or 30psi (apparently soaker hoses can bust just like an overfilled tire, and if you've ever run them at high pressure, they're probably already busted...good to know)
- The order I would attach things at my faucet is: backflow preventer, splitter (optional), filter (also can be attached at the drip irrigation end of things), timer (optional), pressure reducer
- The filter must periodically be cleaned and best to drain for winter
- Tubing and soaker hoses both should be flushed initially to make sure there are no rubber or plastic bits to clog things up
- Dotty recommends a screwdriver to test the wetting pattern of your system. To do this, run the system for 30 minutes and see how far the screwdriver will easily enter the earth (and how far away from the tubing). Ideally you want to water 6 inches deep per watering.
- She also recommends a looped system (perimeter of tubing with lines of tubing across the middle) rather than lines coming out from a straight line of tubing. It helps even out pressure.
- Fitting the 't's into the tubing takes a little elbow grease (and a 'rocking motion'). Apparently some people use a hair dryer to heat them up and they become more pliable.
I'm excited to try out on one of the veggie beds in the back. I'm always trying something slightly different with watering (by hand, by various sprinkler, by soaker hose), which is probably the worst thing you can do. This might help me get a little consistency in watering. And lower overall water use!


.JPG)


2 comments:
wow, i actually didn't realize drip irrigation was so complicated. for watering my garden i use a little sprinkler hose that runs from a pump in the creek behind my house, and i was interested in seeing if i could somehow turn that into a drip irrigation system. it would be a great thing to have. best of luck with your project!
it sounds like you're already pretty water efficient by using the creek and sprinkler hose! it would definitely be worth a shot to try that with drip irrigation. i think running a system from an outside faucet like i am just means there are pressure/backflow issues you have to watch out for...we'll see.
Post a Comment