Wednesday, October 27, 2010
Landscaping update: phase 2
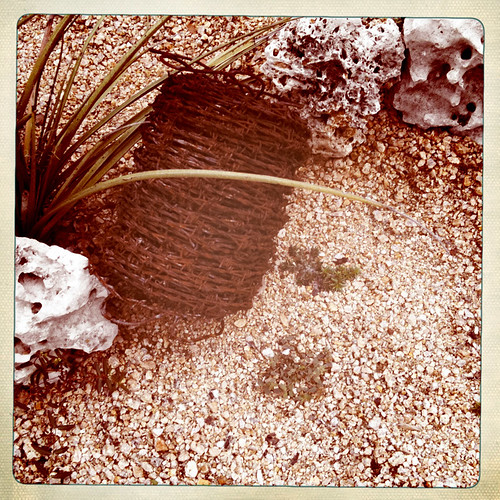
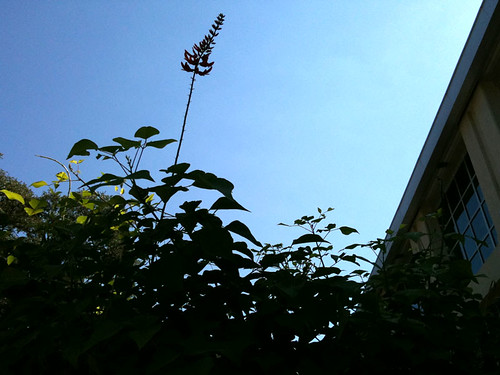
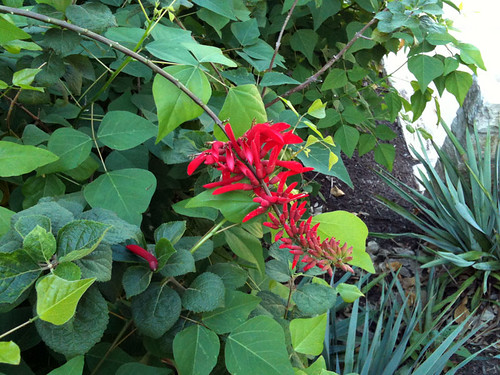
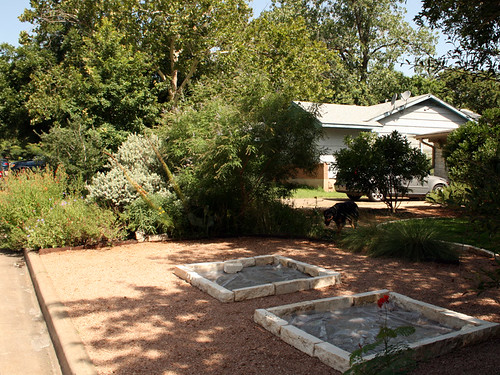
Back in June, I hatched up a plan for the front yard, which would replace bad lawn with hardscaping and include two vegetable beds (to be planted in the 'square foot garden' style). And Tim of San Isidro Designs brought it all off the page and into my yard. He's done some really great landscaping with similar materials, and I thought it looked even better than the plan. The above photo is from mid-July. Because it was so hot then, the pride of barbados is the only plant that went into the decomposed granite area curbside, but I had some plants in mind to put in either fall or spring.
Then about a month ago, as fall vegetable planting time approached, it hit me that there was a mere 3 feet of unobstructed granite between anyone walking their dog along the street and the beds for vegetables. Not ideal. So, I started scrambling for planting ideas, with some help from Tim again. I was really influenced by how gorgeous the fall grasses are over at Mueller, so it was grasses and a few specimen plants.
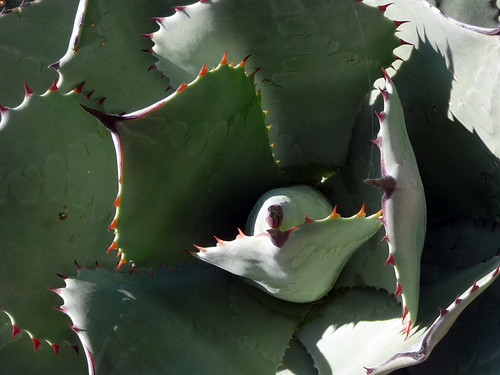
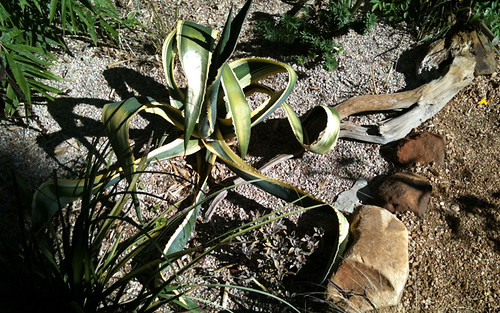
Parry's rosette style agave from Barton Springs Nursery, purple prickly pear and low-growing artemisia from Great Outdoors
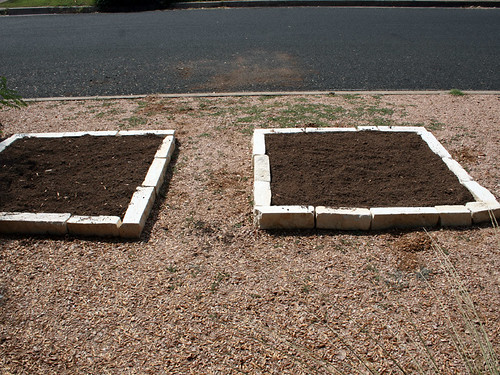
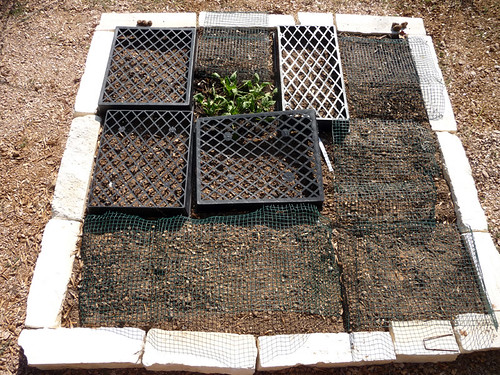
Veggie beds with new dirt, just before the granite areas were planted last week
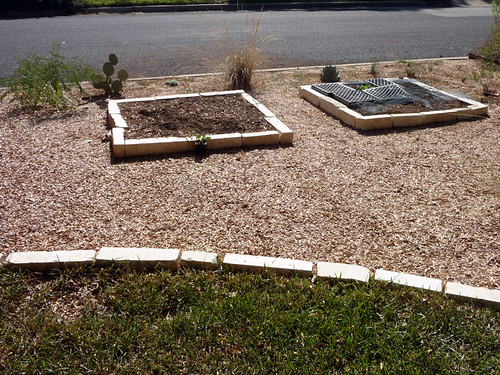
The long view of the planted curbside area. Not particularly impressive at this size, but most of these plants should fill out by next summer. I'm trying to be patient. The grasses that are mixed in there are Mexican feathergrass, gulf muhly, and the big one is seep muhly (I think).
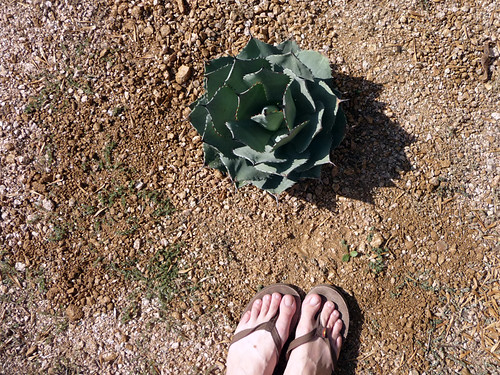
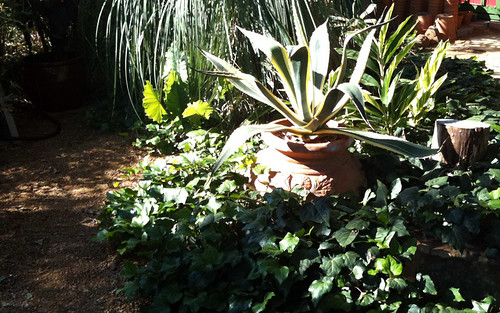
My adorable agave. This one is supposedly slow-growing and maxes out at 3 feet in diameter, which is about all the space it has. Side note: the green groundcover in the decomposed granite is spurge, which I've tried picking out by hand...but not enough. It should die off with the colder weather.
Waiting for Fall
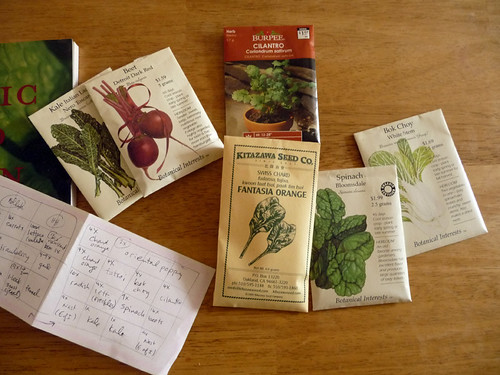
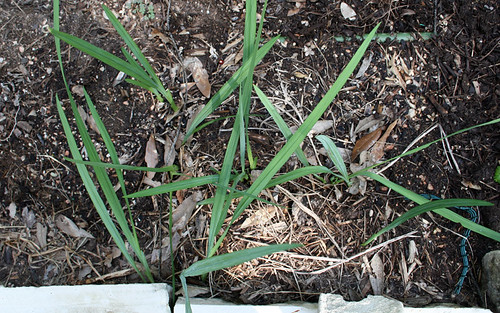
So, according to my handy Travis County planting guide, these plants and seeds are going into the fall garden right now. And I am extra excited this year to have 2 full sun beds with at least 8 inches of really good soil, fresh from Natural Gardener. Last week I planted one of these 4'X4' plots, mostly with seeds but also with a six-pack of spinach. However, the afternoons have been sunny and hot (86 degrees right now).
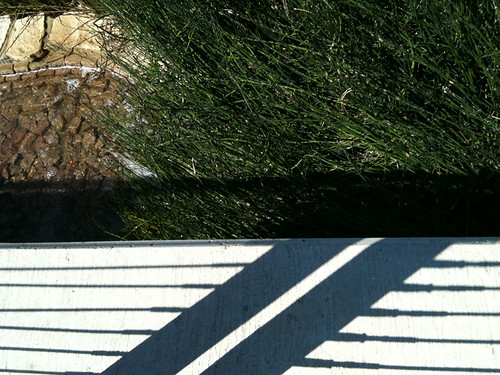
And I'm hoping the seedlings I saw for the first time this morning make it. The spinach plants are getting a little stressed, despite getting a good watering this morning.
You may notice my lazy gardener way of cat/bird-proofing the planted areas. It's not pretty, but it's a good way to recycle those nursery trays and some random green flexible mesh I had. My neighbors are probably eyeing it dubiously. With a little luck, the bed will be full of young plants within a few weeks. I want the fantasia orange chard to turn out to look as fabulous as it sounds.
Mostly I'm trying to keep my expectations low with this front yard vegetable experiment, at least for this first season. But it's got to be better than the last 7 years of growing veggies in the shade, right? And the forecast has some cool nights starting tonight, and slightly cooler days...soon, fall, very soon.
Sunday, October 24, 2010
The Other Lady Bird Wildflower Center
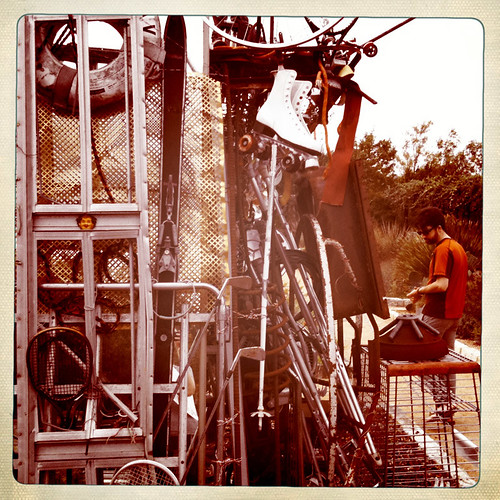
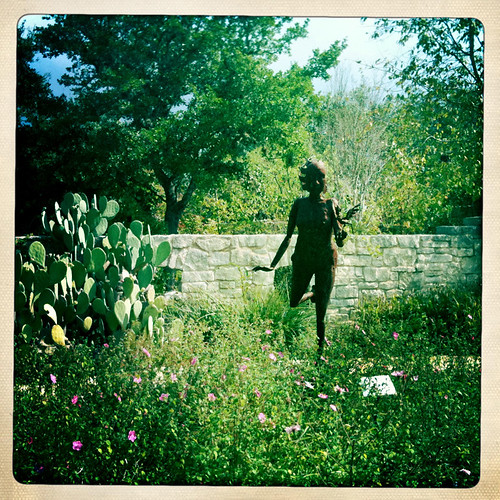
So, the Wildflower Center is full of flowers and grasses at their peak of interest, but did I come back with photos of soft blue stands of mistflower covered in butterflies, ethereal clouds of gulf muhly, or the saffron stalks of goldenrod? Of the nifty stock tank planters? No. Just like in Neil Gaiman's Coraline, I found the "other" wildflower center.
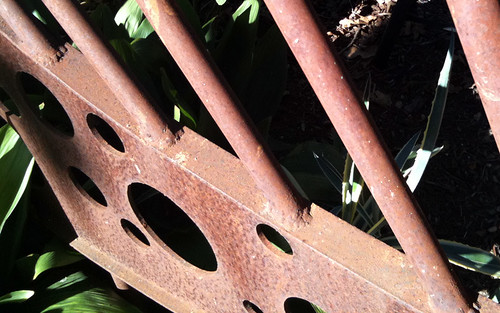
From the top: mini Cathedral of Junk, a soldier butterfly (or queen? does anyone know?), and a quirky garden sculpture.
This is just the second time I've visited the center, and since the other time was during the spring madness of the plant sale, it was really my first time to look around. Can't wait to come back in spring and see it at its blooming best.
Monday, October 18, 2010
Late bloom day
So, I missed Garden Blogger Bloom Day this time, due to my adorable nephew's birth and lots of family time. But I still think it's fun to keep track of what's blooming each month.
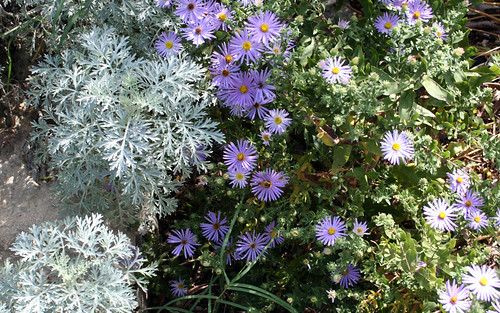
The fall asters are doing their (short-lived) thing right now. And looking pretty good against the artemesia, if you ignore the bermuda grass peeking through.
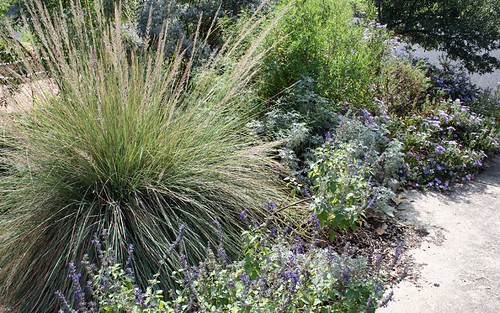
The indigo spires salvia (more than 7 years old) is looking pretty haggard, but is still covered in blooms and bees. The grasses are looking great right now.
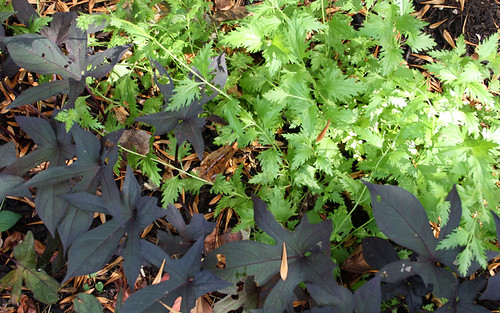
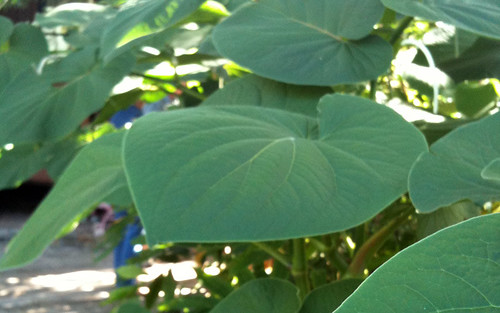
The mistflower is covered in buds, and the sweet potato vine is a nice contrast.
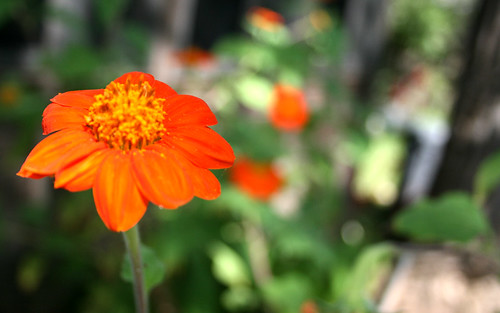
The Mexican sunflowers are covered in blooms.
Pineapple sage just started blooming yesterday.
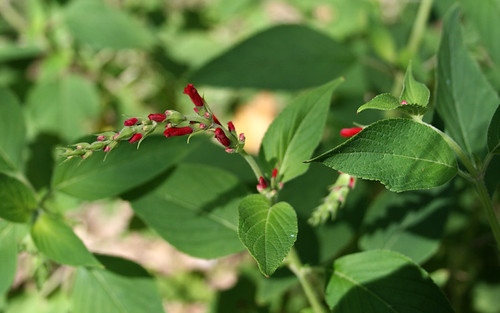
I don't know what is up with all the mutants this year. My mountain laurel has several mutant buds, and now this firespike has one, too.
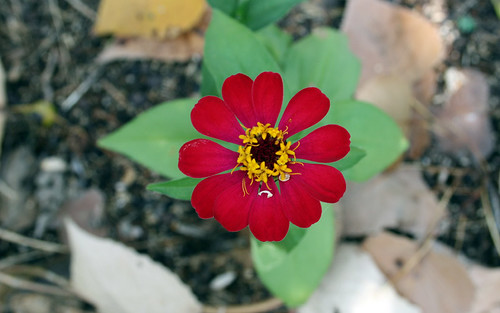
Only got a few zinnias to come up from seed, and the plants are looking leggy and unattractive. But I do love the flowers.
These freesia bulbs were the best purchase I ever made at Lowe's. Assuming they make it through the winter, this spring will be their 6th bloom season. And they are among the lowest maintenance plants in my yard.
Sunday, October 17, 2010
Garden Conservancy Open Day: East Side Patch
I stumbled across East Side Patch's blog a while back, so I was really excited to see it as a stop on the Garden Conservancy tour. Totally my kind of garden. And much more fun to see in person. The gardener-owners Philip and Leah were very gracious, and it seemed like I wasn't the only visitor to make a second or third loop around to try and take in all the goodness. And I got some tips and ideas for the plantings that are going into the decomposed granite areas.
Wednesday, October 6, 2010
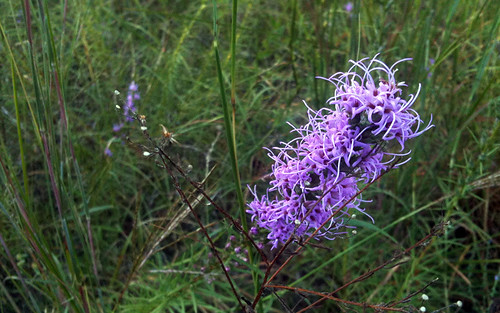
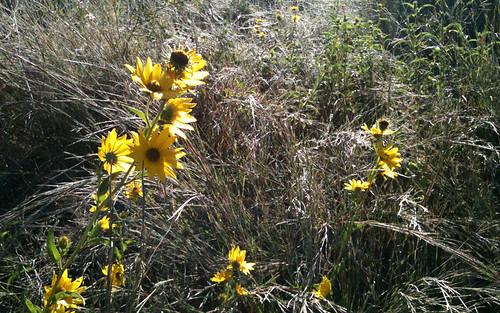
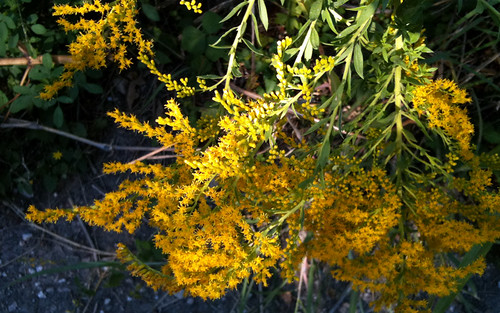
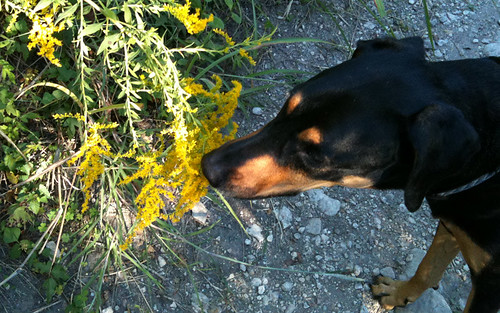
Fall wildflowers
Saturday, October 2, 2010
LCRA & Drip Irrigation
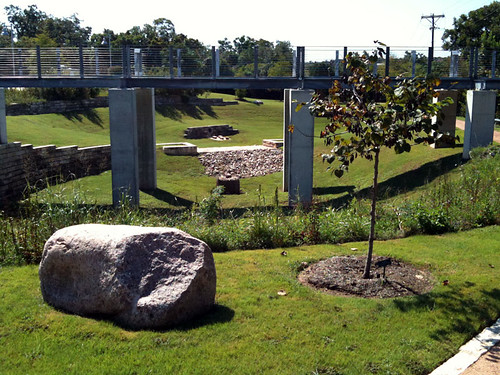
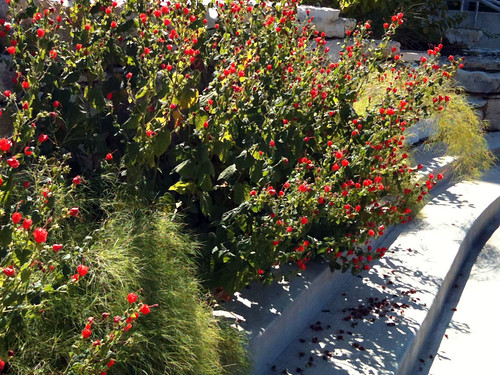
The grounds at LCRA Redbud Center (lots of cool demo areas to explore)
Okay, I know the title is less than riveting; so if you've read this far, you must really be interested in drip irrigation, eh? I'm not sure why, but assembling a drip irrigation system for my flower and vegetable beds has always seemed a little mysterious. Like I might get it wrong and end up with non-potable water backing up into my plumbing system. And there just seem to be so many little pieces, like legos for gardeners.
Well, Dotty Woodson, a water conservation expert for Texas AgriLife Extension, shared a lot of good information about drip irrigation in a free seminar this morning over at the LCRA Redbud Center. And followed it up with some hands-on practice for everybody. It's not so mysterious after all! And looking at the percentages, even an imperfect drip irrigation system would be more efficient than a sprinkler system.
The most important things I learned (that you may not already know):
- Drip irrigation works at low pressure, 15-25 or 30psi (apparently soaker hoses can bust just like an overfilled tire, and if you've ever run them at high pressure, they're probably already busted...good to know)
- The order I would attach things at my faucet is: backflow preventer, splitter (optional), filter (also can be attached at the drip irrigation end of things), timer (optional), pressure reducer
- The filter must periodically be cleaned and best to drain for winter
- Tubing and soaker hoses both should be flushed initially to make sure there are no rubber or plastic bits to clog things up
- Dotty recommends a screwdriver to test the wetting pattern of your system. To do this, run the system for 30 minutes and see how far the screwdriver will easily enter the earth (and how far away from the tubing). Ideally you want to water 6 inches deep per watering.
- She also recommends a looped system (perimeter of tubing with lines of tubing across the middle) rather than lines coming out from a straight line of tubing. It helps even out pressure.
- Fitting the 't's into the tubing takes a little elbow grease (and a 'rocking motion'). Apparently some people use a hair dryer to heat them up and they become more pliable.
I'm excited to try out on one of the veggie beds in the back. I'm always trying something slightly different with watering (by hand, by various sprinkler, by soaker hose), which is probably the worst thing you can do. This might help me get a little consistency in watering. And lower overall water use!
Subscribe to:
Posts (Atom)